Add Custom Font to Xcode
Tired of using the fonts coming with Xcode? It is actually pretty easy to add your own custom font to Xcode.
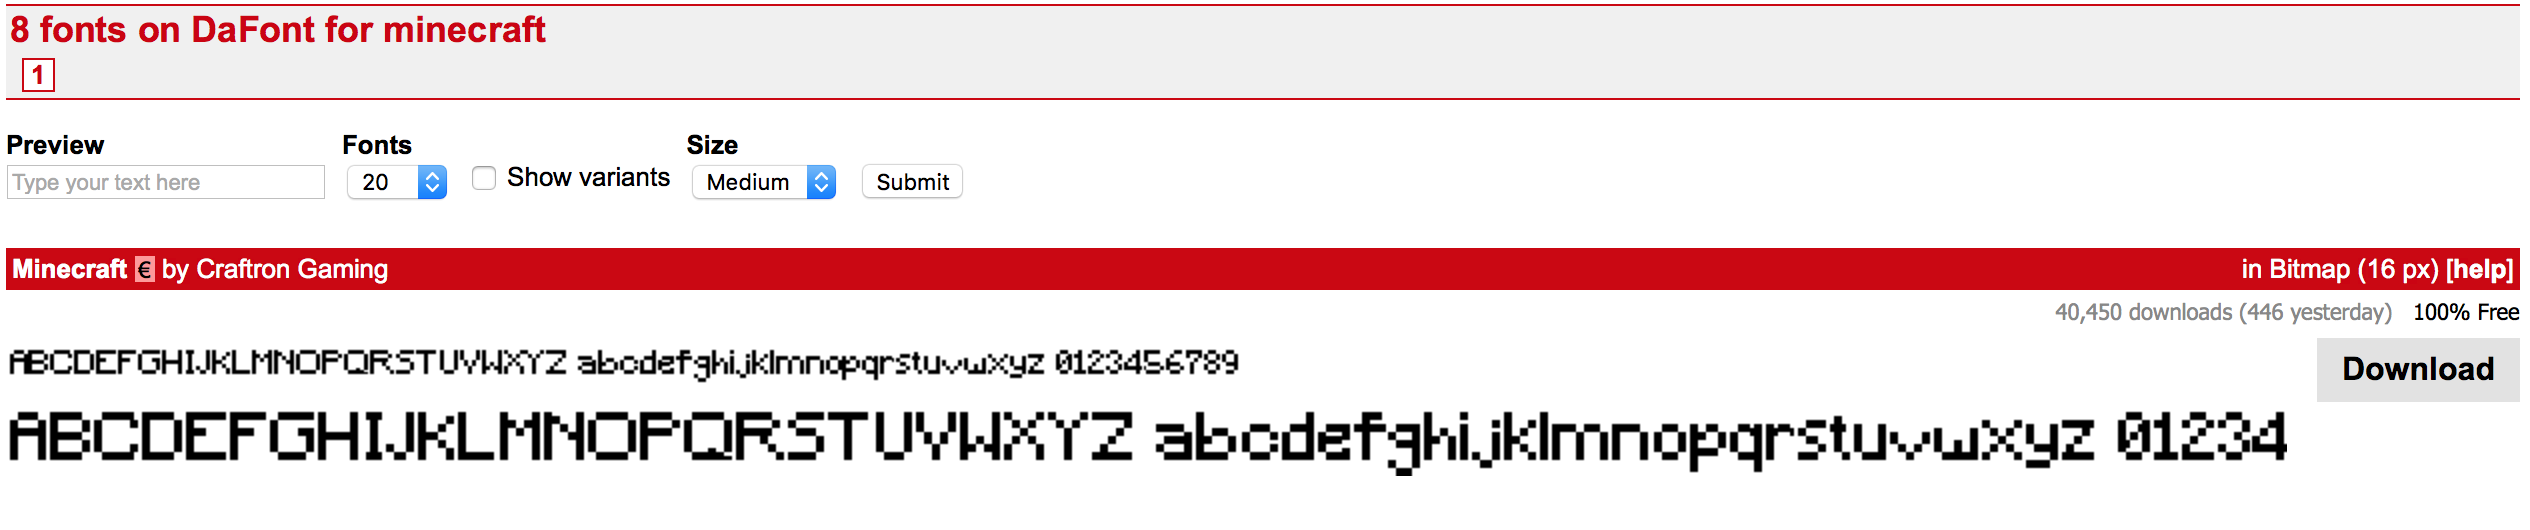
First prepare your own custom font. You could find a lot of fonts which are free in this website www.dafont.com. Here we download a font called Minecraft, which I think is pretty cool.
Next is to add the font to Xcode, here we just drag and drop to Xcode.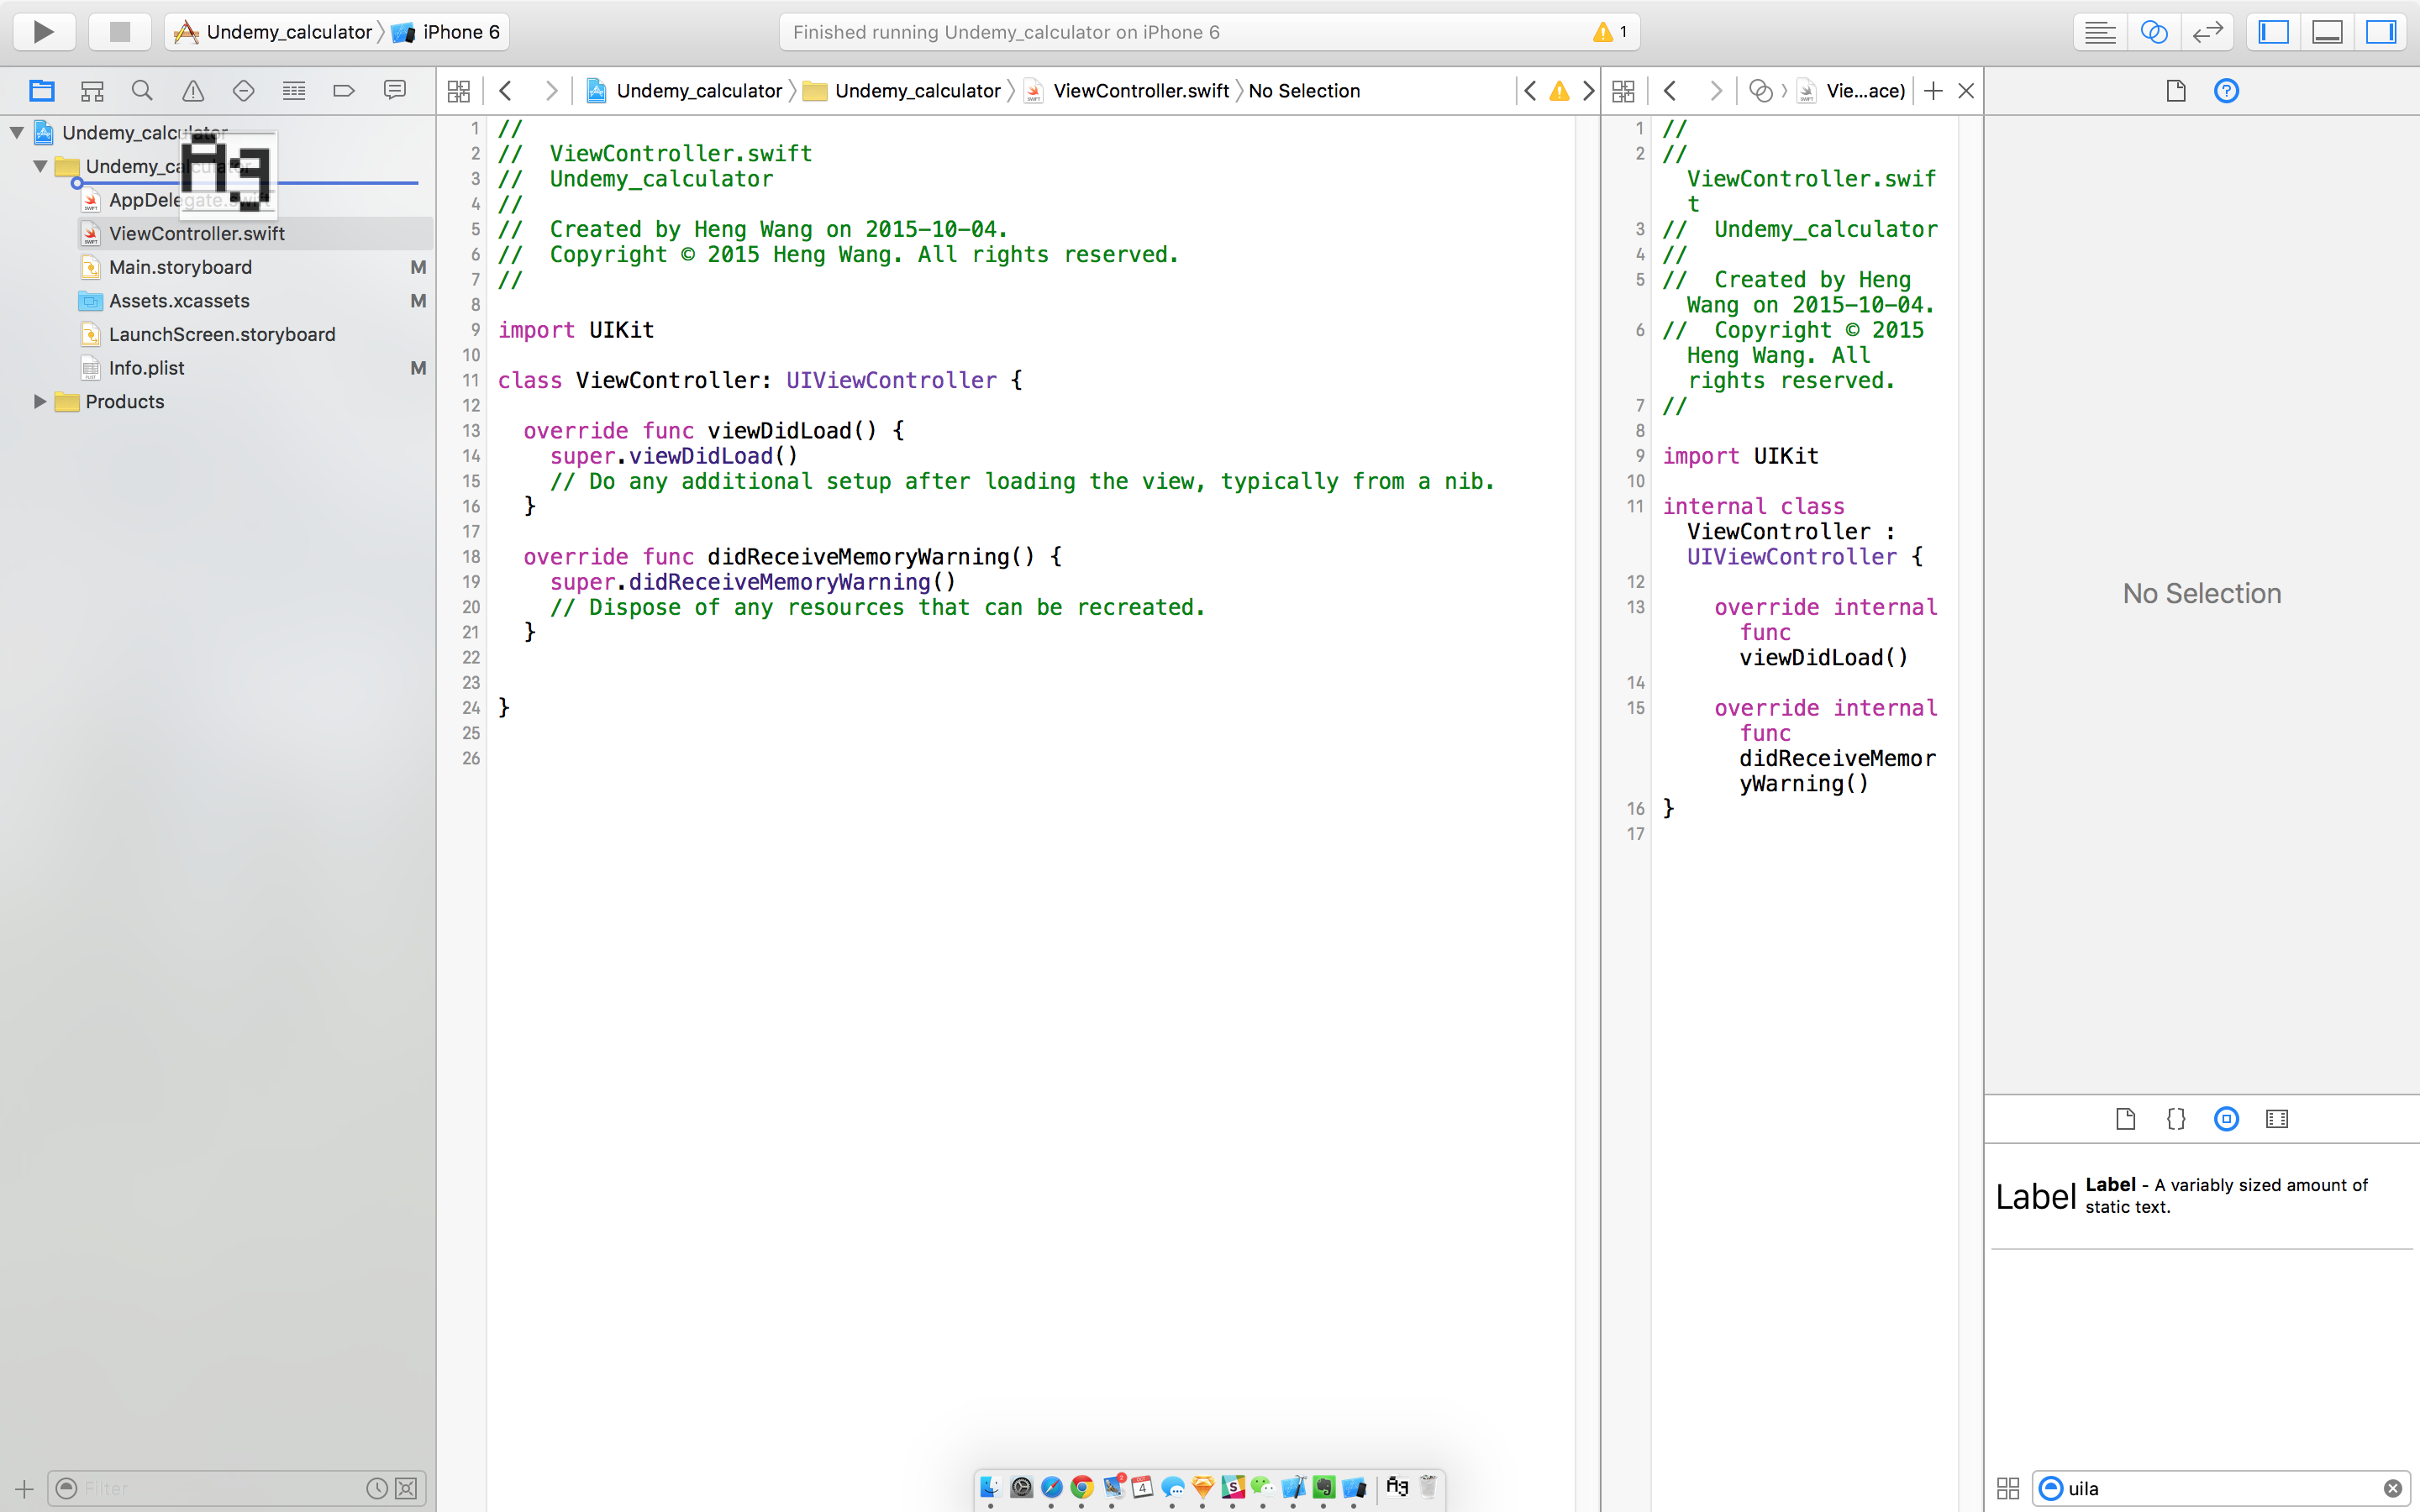
Here it will pop out a window asking you the options to add the file, make sure you check Copy items if needed, because we want a copy stayed in our project, not a refernce to the font where it stored in our computer. And make sure check the box Add to targets to tell Xcode that it could use this font in our project.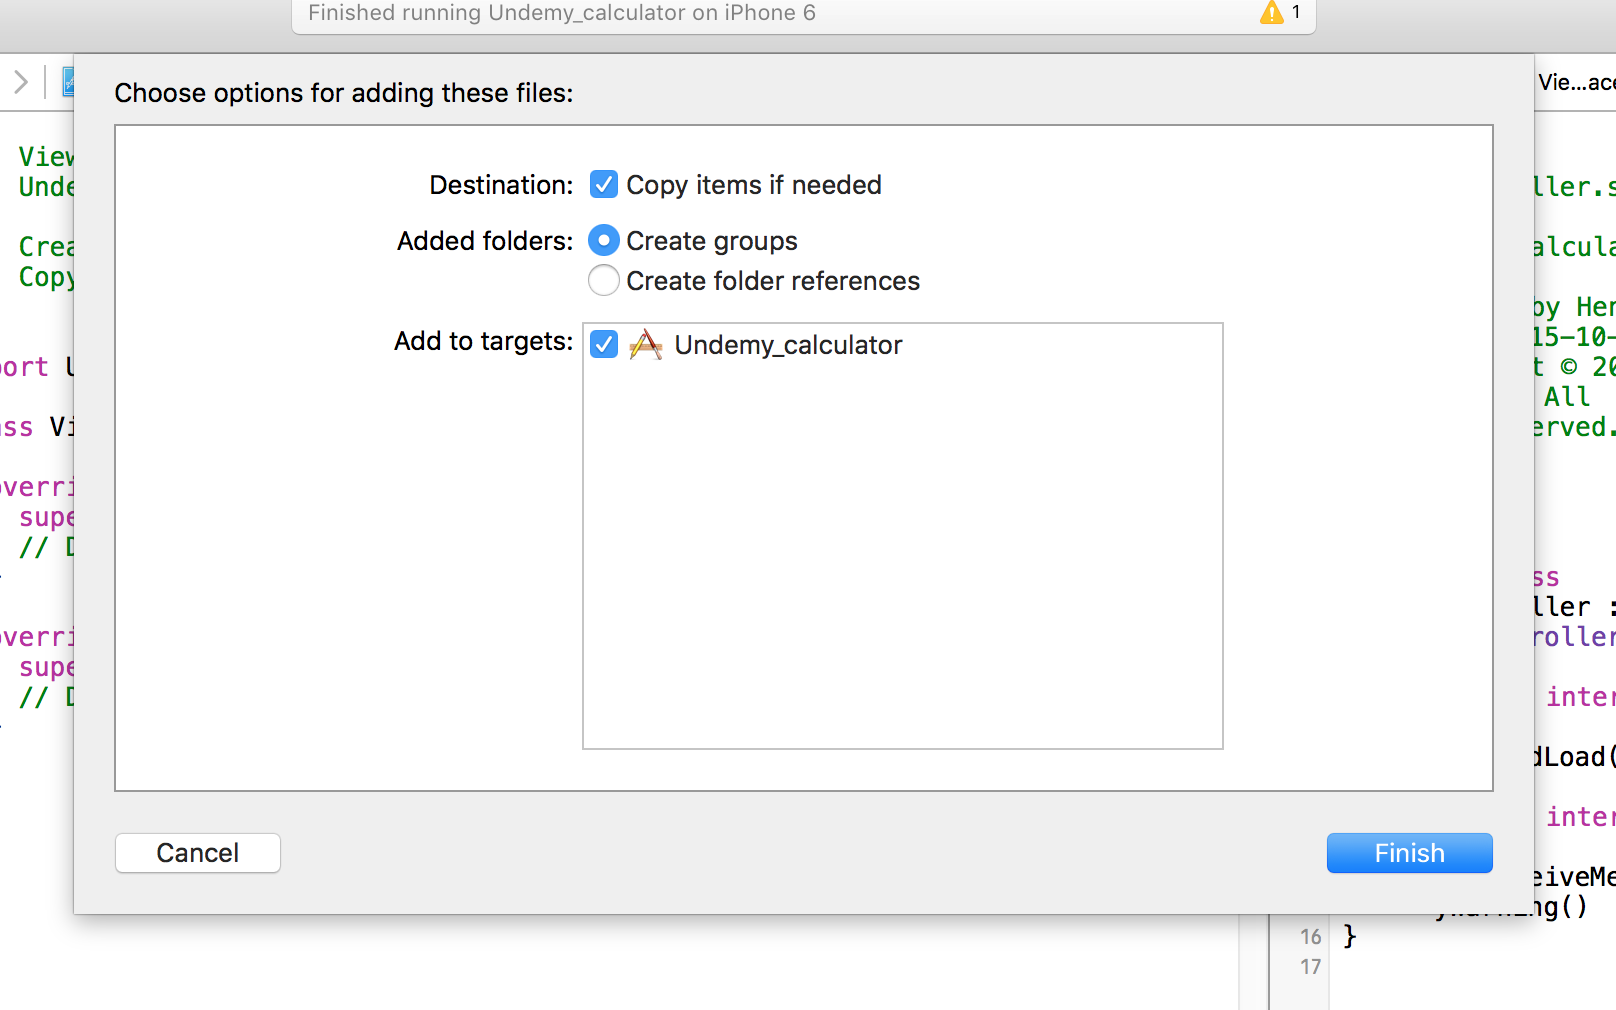
Next we will need to add some configurations in the info.plist of our project. Click info.plist, in the last element, click + to add a new configuration.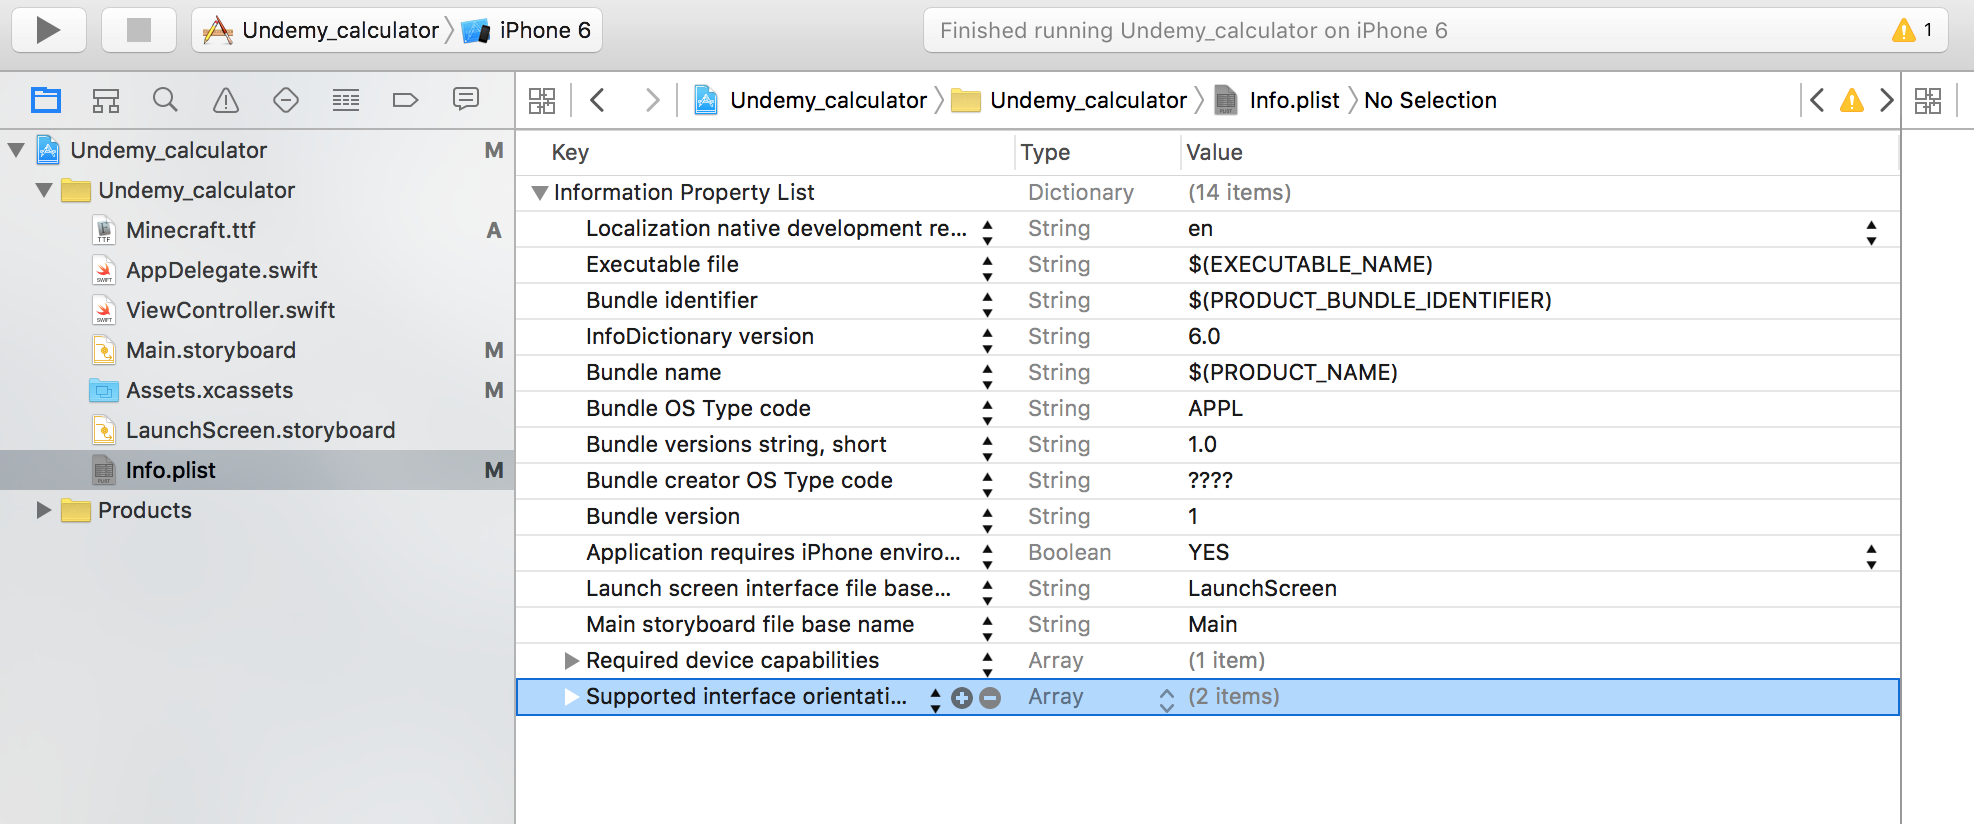
In the Key area, type Fonts provided by application, Xcode will automatically filter the key for you.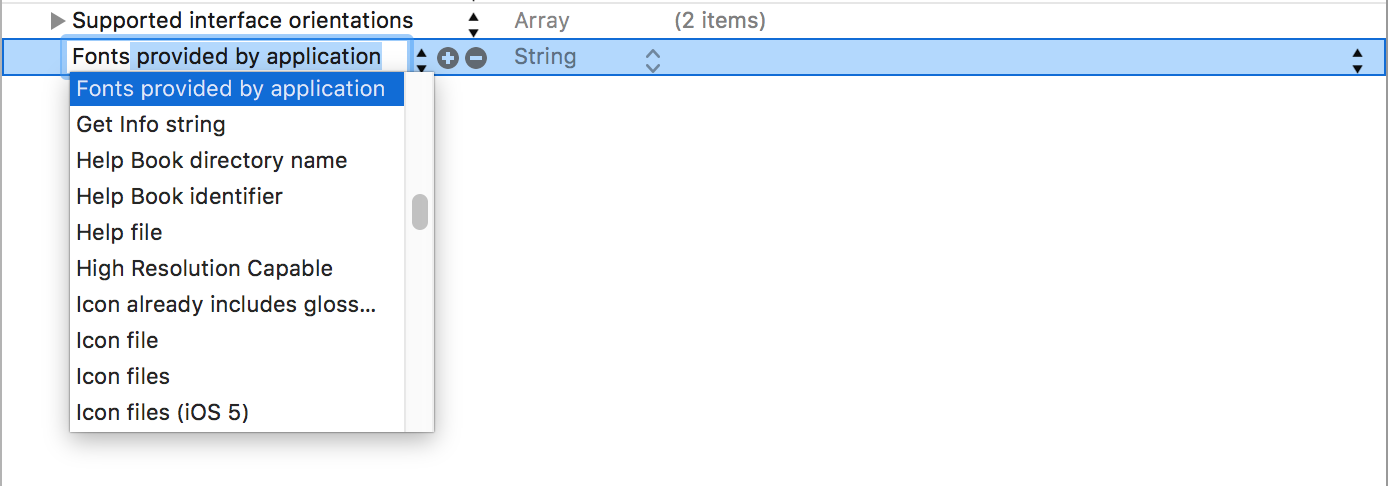
Expand the element Fonts provided by application, in the value field of item0, type exact name of the font we just downloaded with its extension.
Now eveything is set except making use of it! Create a UILabel, on the right panel of Xcode, select Attributes Inspector, click “T” icon in the Font attribute. In the popout window, choose Custom for the Font, and Minecraft for the Family.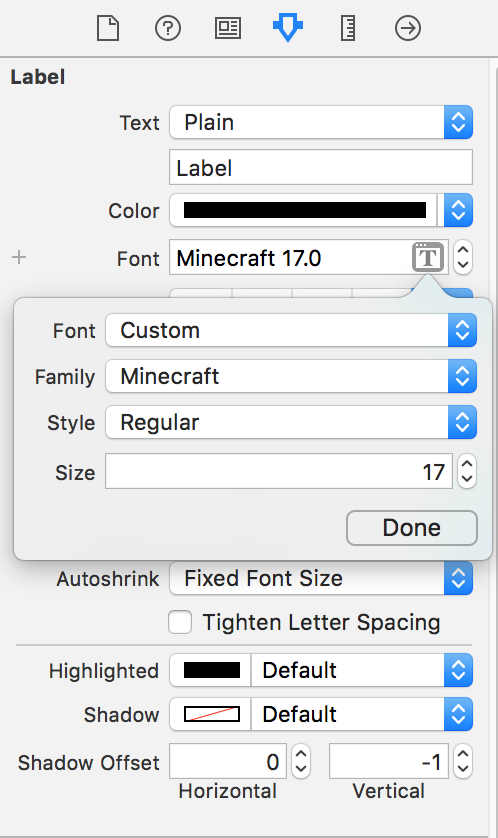
Bang!! New font available in your project!